Refresh Your Tiles: How to Regrout Tile Without Removing Old Grout

- Diane Hammer
- Updated on: August 1, 2025
Facebook
Twitter
LinkedIn
Pinterest
Is it always obligatory to take off the previous grout before smearing a fresh batch? If handled with extra care and follow the step precisely you can regrout on an existing grout surface. The disturbing confusion about how to regrout tile without removing old grout is over. Here is extensive detailed data on some trailblazing hints and hacks to redo your tilework and grouting like a pro with professional finishing.
Key Takeaways
When regrouting on an existing tile joints, you save plenty of time and effort. Moreover, this method prevents any tile cracking or damage when revoking the previous layer of grout.
Stress and hard work drain unnecessary energy which can be hectic. It is a work of art which needs proper surface preparations and thorough cleaning.
A layer of grout on top of the remaining one and another coating of strength and shielding benefits you in durability and longevity.
Introduction
Embrace yourself for a transformative voyage that will leave you with opulent and exclusive tilework every discerning eye for art craves! The journey where function meets efficiency and visuals meet spot-on aesthetics. So, how to regrout tile without removing old grout? Confusion is not what you are looking for at your doorsteps, which will enhance the beauty of your tilework with additional enchantment. Why should we stress about removing old grout when we can skip the unnecessary hassle and get the required result the other stress-free way? You heard it right! Without a delay, let’s dive into the shortcuts and techniques and revitalize your tilework.
Understanding Grout and Its Role
Grout filling might seem an unnoticeable detail, but it is an unheralded hero in the entire game of tilework. It is not merely a strengthening partner but a structural support system of tiles that provides moisture resistance and protects from other damages such as discoloration and staining. It binds the tiles together, keeping them safe from cracking or the edges breaking off.
Accompanied by its unsung efficiency, it plays a major role in the cohesive appearance of the artwork, acting as a backdrop that enhances the overall aesthetic tile symphony. Understanding the main objective and significance of grouting creates a sense of better consideration of its own regrouting process and tile rejuvenation.
Lorem ipsum dolor sit amet, consectetur adipiscing elit. Ut elit tellus, luctus nec ullamcorper mattis, pulvinar dapibus leo.

The Benefits of Regrouting without Removing Old Grout
We are all aware of the silver lining of regrouting without removing old grout but let’s do a thorough survey of its numerous benefits. Let’s get into it!
Time-Saving Marvel
No doubt imagining additional steps for removing all the old grout seems a lot hectic and drains extra energy whereas skipping this step keeps you a lot more motivated and saves plenty of time with less labor effort.
Cost-Effective
Buying additional tools and equipment for the removal of hardened grout can cost you a pretty penny. Regrouting on top of the previous grout removal tool is a bang for the buck.
Reduces Damages
There is a risk factor when removing the old grout in breakage and damaging tiles as they are strongly bonded together so you might have to opt for a professional, which is not what we are looking for right? Passing on to this step clears the path of risks and damages.
Resource Conservation
Sustainability and environmentally friendly factors are non-negligible as there is no waste produced and it is reutilized for the better.
Aesthetic Improvement
This method is like refreshing your tilework without the hassle of whole grouting and then sealing stress and effort which looks visually aesthetic by all means.
Preparation of the Tile Surface
Preparing in advance ensures you achieve the desired outcome with a favored vibe and aesthetics along with maximum efficiency. The saying ‘’ well begun is half won’’ fits perfectly and illustrates its spirit in this method. Here is a meticulous step-by-step guideline for the initial preparation of the surface.
Getting Rid of Dust
First things first, take a wet cloth and wipe off the dirt and dust from the surface. You may either opt for a brush if needed to eliminate all the old loose fragments of string on top. Make sure the dust is all cleaned from corners and crevices.
Clean the Tiles
Use a pH-neutral cleanser or a vinegar solution and mop the tiles with a damp cloth to clean all the dust and debris. Do not use harsh chemicals that may cause any damage to the existing tiles.
Ensure Clear Canvas
A neat and clean canvas ensures stronger adhesion of materials on top of it. A stronger bonding means increased strength and less damage risk.
Summing it all up, a cleansing routine before the application of a new grout filling ensures there is no barrier in between that may reduce adhesion. The surface should be dried and cleaned from dust and dirt.

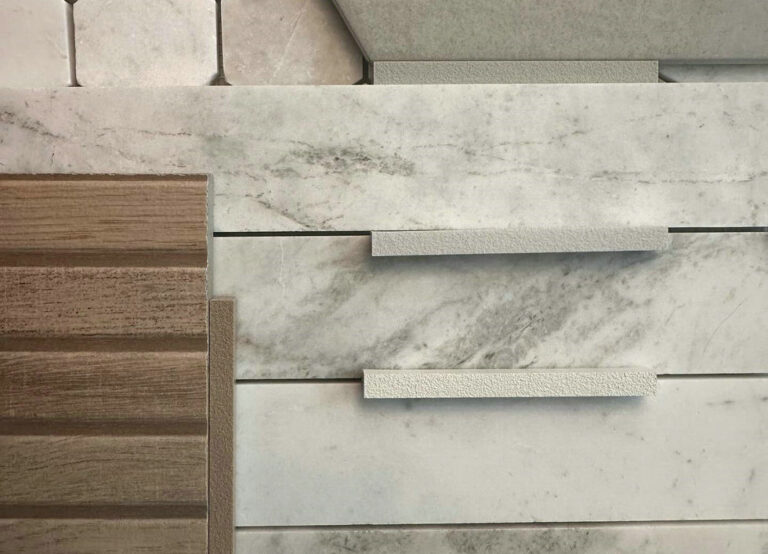
Choosing the Right Grout
The significance of compatible grout filling with the tile material is a key point of the entire process. Here are some types of grouts and their function listed below:
Sanded Grouts
These grout types consist of sanded particles that look best in wider tile spacing patterns and provide strong bonding preventing cracking
Unsanded Grout
Comparatively unsanded grout has a smooth texture and suits narrow-spaced tiles which look more delicate and unified.
Epoxy Grout
This grout type is highly resistant and suits areas with high traffic such as kitchen and bathrooms. It offers extreme durability and longevity.
Premixed Grout
It is a ready-to-use grout mixture that creates less mess.
Tintable Grout
You can customize any shade according to your overall aesthetic which makes it more likable by artists.
Applying New Grout Over Existing Grout
When the tiled surface is neat and clean, now is the time to apply the new layer of grout on top. The most awaited moment and crucial one needs precise care. Let’s dive right into the steps of this method to achieve flawless tilework:
Clean the Existing Grout
Incorporate a grout cleaner to be specific for the best results and wipe off any excess grout grime.
You can also opt for a vinegar and soda solution for a thorough cleaning of all the curves and crevices.
Wash, mix the solution along with dirt and filth, and let the area dry.
Apply Grout Colorant
With the help of a tool like a brush, fill the grout lines with colorant in an even manner.
Slightly press the mixture so it fills the gaps and crevices uniformly.
The uniform layer looks more aesthetically pleasing.
Let the grout colorant dry on its own which takes 24 to 48 hours depending on the adequate environmental factors provided.
Use Grout Float and Towel
Positioning the grout float at a 45-degree angle reduces air trapping beneath it.
Plastic towels prevent scratches on delicate tile surfaces and distribute the grout colorant evenly.
Grout removal tools also come in handy for removing any lumps and bumps from previous grout.

Sealing the Grout
A later sealant offers protection to the grout filling from moisture, stain, or flaking. Sometimes a cloud-like surface appears on a grout surface which is not attractive to look at. For such cases, sealant is your way to go.
Importance of Grout Sealing
Sealing offers additional resistance against water seepage securing the inner grout coolant. It prevents mold and mildew formation which spreads over time damaging the entire tilework. Moreover, the Staining and discoloration of grout destroy the aesthetic vibes, but with sealer applications, this matter is resolved.
Sealing Process
Clean the grout lines so that any excess loose grout that is not peeking maintains the flat surface for tiles. After making sure that the grout is cured and leveled apply a thin layer of sealer with the help of a brush to grout lines. The sealer takes approximately 10 to 20 minutes to dry. You can use multiple layers to attain more strength and flawless finishing.
Removing Excess Grout and Cleaning Up
The tried-and-true way to clean the excess grout is with a damp sponge or cloth before it starts hardening. Be gentle with the wiping as there is a risk of disturbance in the new layer of grout. If a haze or powdery texture appears on the surface, use a sandpaper or wire pad to scrape off the leftover residue. Keep the surface misted for a flawless finished appearance.
Timeline for Grout Curation
Proper curing ensures proper adhesion which prevents damage and issues like moisture and air trapping, mold formation, or staining. The minimal time for the grout to cure is 12 hours and the optimal time under suitable environmental factors is 24 to 48 hours. Avoiding premature use like walking, exposure to moisture, or lack of proper ventilation provides you with the best results, otherwise, the negligence may undermine all the efforts.
Final Touches
Daily inspection of the grout lines holds great significance. One should be cautious while checking the evenness of the lines and notice any expansion or bubbling. Another element to inspect is the formation of gaps in grout joints which appear due to trapped air.
Notice the uniform color throughout the grout lines.
Another factor to consider is the change of texture. Sometimes the grout forms a haze on top of it in a cloudlike texture or a powdery feel on the surface.
If small areas are malfunctioning then spot cures the specific area.
Summing it all up
Rejuvenating your stickwork without the removal of previous tiles is a stress-free and effective way to attain chic and opulent tiles with no hassle. This efficient renovation requires the realization of its major role in this game. With proper preparation and deep cleaning for the right selection of tile grout, and sealer which is compatible with the tile material. Apply the filling like a pro following the mentioned steps with meticulous upkeep and precision. Patience is the key to a flawless finish tilework with durability and longevity.
FAQs
Can I Regrout over Any Type of Existing Grout?
Surely, you can regrout many types of grouts on top of another colorant that is clean and clear, highly compatible, and deep enough to allow application on top.
How Long after Regrouting Can I Use My Shower or Walk on My Tile Floor?
With a wait of a minimum of 24 to 48 hours, your tilework is ready to be used. Allow it to set properly for increased strength and durability.
Do I Need to Seal All Types of Grouts?
Depending on the grout type, it predicts whether to seal it or not. Sanded grout and unsanded grout need a film of protective sealer to prevent moisture, whereas epoxy grout doesn’t require any additional shield.
How Can I Avoid Scratching My Tiles While Regrouting?
Without the right tools and equipment, scratches are eminent. For instance, do utilize plastic trowels, sponges, and soft bristle brushes. This works best in avoiding further pressure on delicate ceramic tiles by being gentle so that they can last long.
What Should I Do If the New Grout Appears Crumbly after Curing?
After identifying the cause, remove the affected grout. Reapply the mixture to the specific area and allow for proper curation time.
Facebook
Twitter
LinkedIn
Pinterest
Author
Diane Hammer
Diane Hammer is the Digital Marketing Manager at tileday.com, a premier platform for tiles, renovation, and home decor solutions. Digital marketing is Diane’s passion. With her finger on the pulse of industry trends, she will propel tileday to new heights.

Related Posts
Table of Contents Paint a picture of a harmonious blend of kitchen tiles with other elements, that sets the world apart with its unparalleled charm. Especially, when you come across
A stitch in time saves nine, this saying syncs perfectly with the significance of grout sealing. Many homeowners have similar questions: do you need to seal grout? Grout tile sealer

Table of Contents The cost to remove tile flooring depends on several key factors but it usually costs between $3.25 and $6.5. This article will explain all the aspects that
Table of Contents Fret not with any concerns of time wait! We have covered you with exhaustive information on how long before you can walk on tile. The universal decree
Your favorite floor tiles may fade away over time. The instant and economical solution to this problem is the installation of LVP over floor tiles. Do not overthink the challenge.
Have you ever thought of effectively tiling over wall tiles in a bathroom? You can do it with the utmost perfection by following simple guidelines. Key Takeaways You can lay
Home renovation is an interesting task. It sounds good to renovate your home according to the latest trend. Herringbone tiles are overwhelming the renovation trend for homes. The charismatic view
Recent Posts
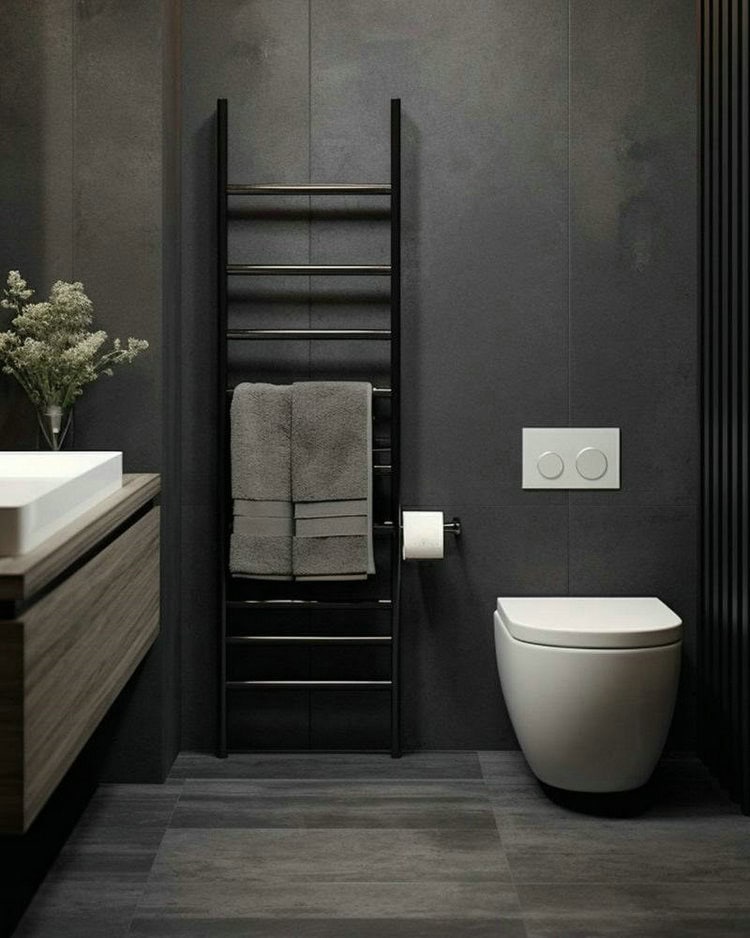
Photo credit: prestigewashrooms Welcome dark theme lovers and be inspired by dark bathroom floor tile ideas. The shiny blackish-gray wall gives the space a bold and refined appearance. It perfectly
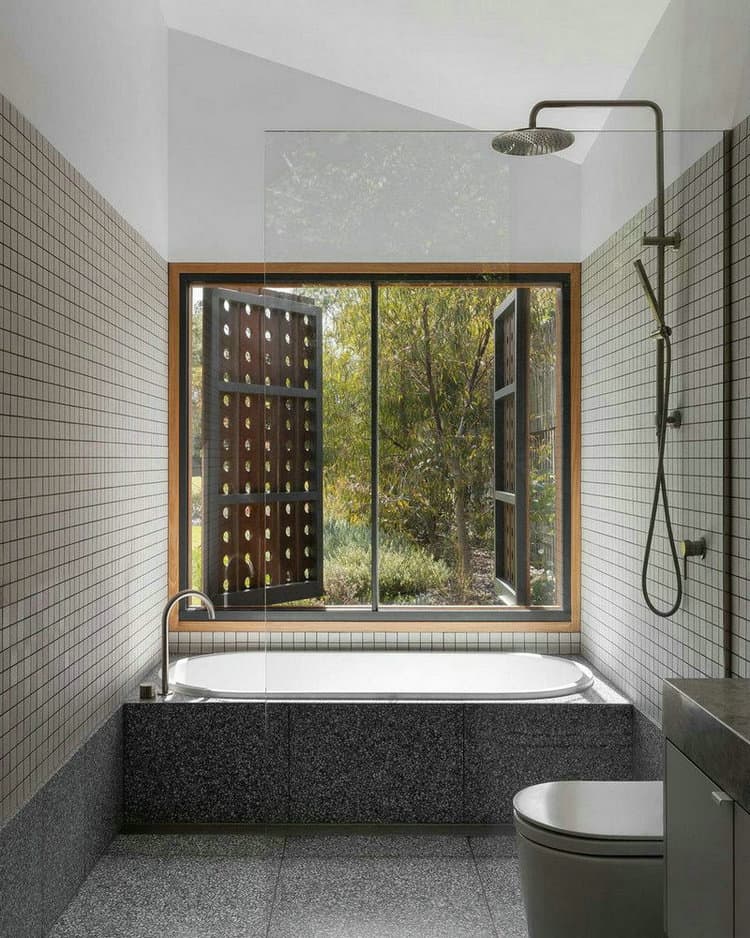
Photo credit: co_architecture_au Look at this stunning picture of a bathroom with a walk-in tub and imagine the spa-like retreat you will get in this space. Also, the huge window
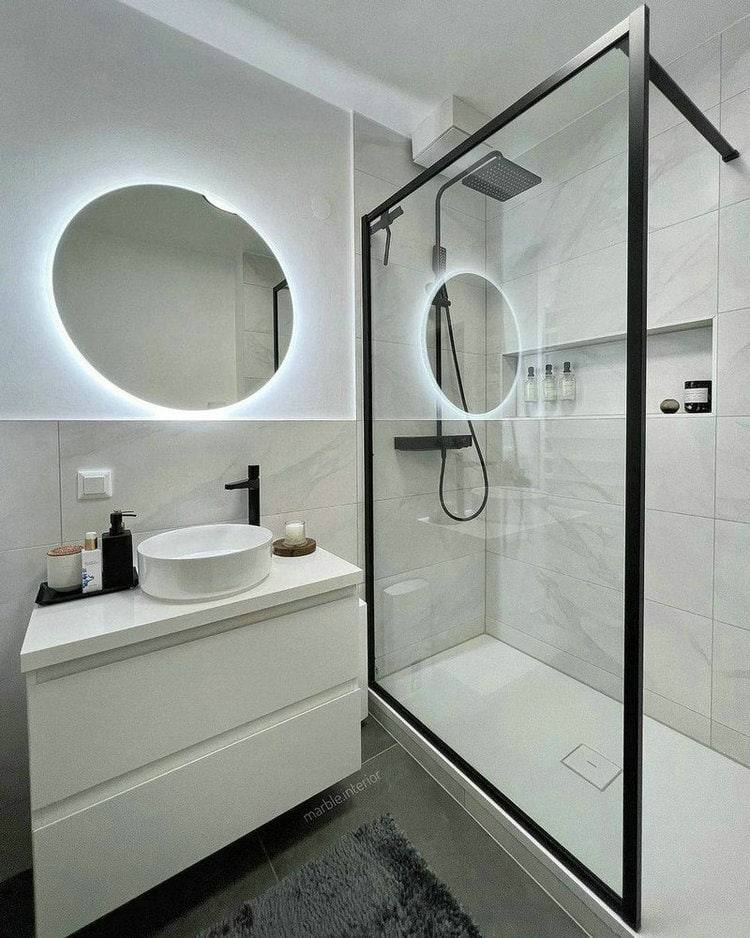
Photo credit: marble.interior Be ready to enhance your small bathroom’s appeal with black-and-white decor ideas. This small bathroom walk-in shower looks stunning with the black framed door. Add a built-in
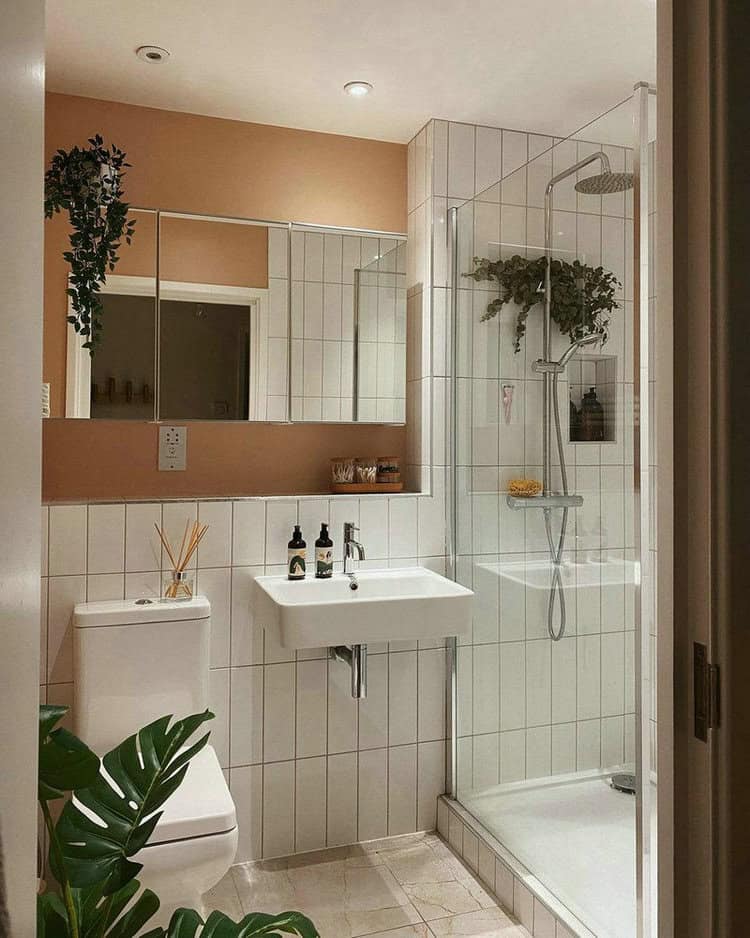
Photo credit: bintabuheh In this bathroom, the light shade color of the wall looks appealing and gives the space a calming ambiance. The vertical stack tiles perfectly complement the white

The stacked tile pattern has been a favorite with the designers and homeowners for so long. A stacked tile pattern offers a wonderful aesthetic that transforms a dull space into
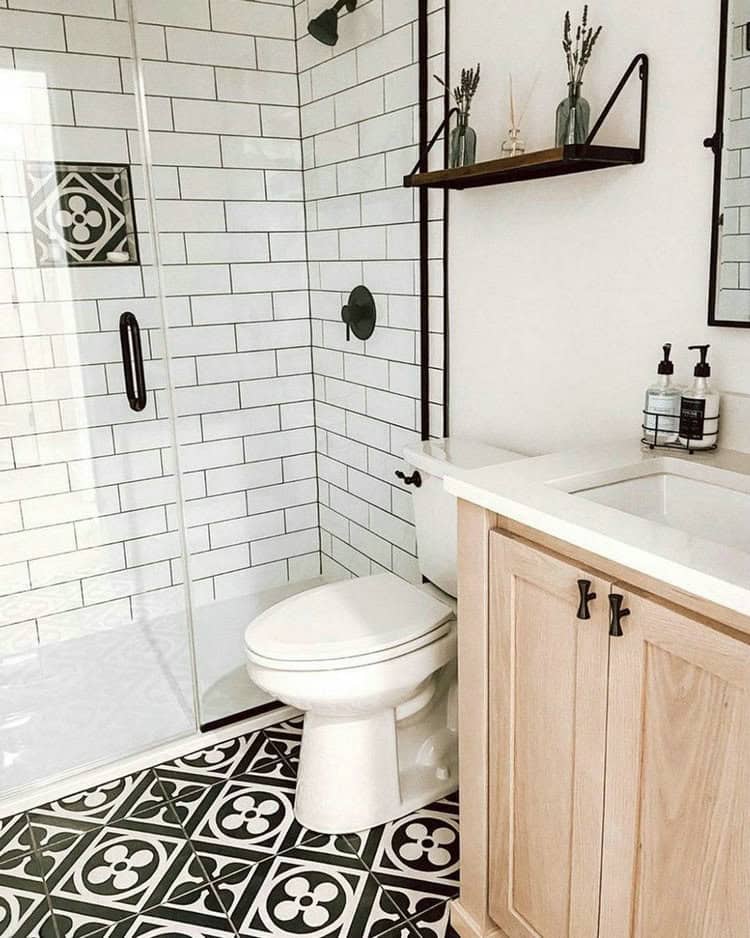
Photo credit: buildwithferguson Don’t know how to add a shower to a small half-bath? Here’s a step-by-step guide. First, do careful planning before adding a shower. Go for a compact
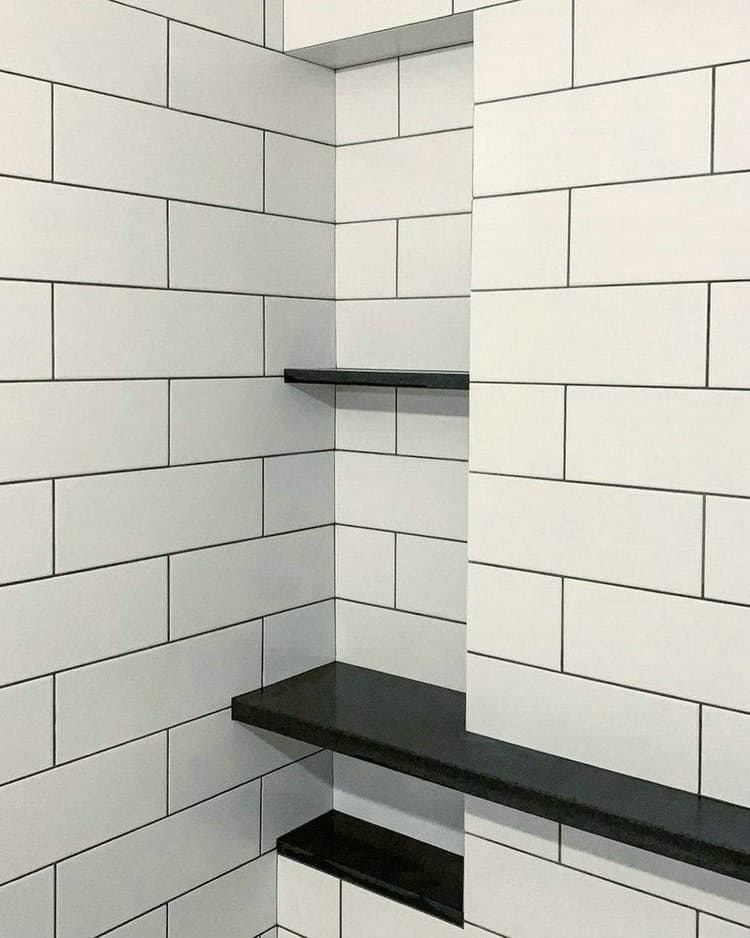
Photo credit: warmyourfloor Welcome the sense of simplicity with black and white tiles. Clean, glossy white tiles with dark grout simply create a beautiful impact. The built-in shower shelf idea
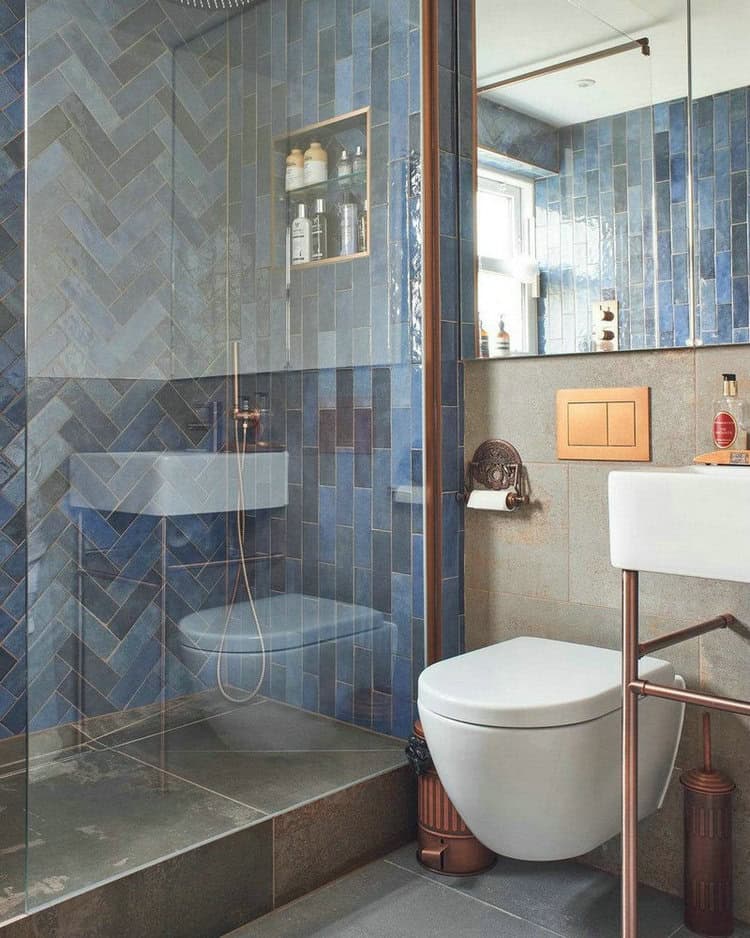
Photo credit: big_bathroom_shop For your boring shower areas, use soothing blue tones for walls. This wall idea gives a relaxing and calming ambiance as well as a touch of elegance