Grouting Backsplash: Unlock Long-Lasting Tile Beauty
- Diane Hammer
- Updated on: July 30, 2025
Facebook
Twitter
LinkedIn
Pinterest
Table of Contents
Paint a picture of a harmonious blend of kitchen tiles with other elements, that sets the world apart with its unparalleled charm. Especially, when you come across precise statistics about grouting backsplash which accelerates the existing beauty of your finishing to the uppermost level. The tried-and-true science of grouting backsplash unveils the secrets of some mind-blowing tips and tricks, dependable as the sunrise for issues such as damp-proofing and lumpy grout finishing.
For a hassle-free experience, we deliver all the detailed information in steps for you, where both functionality and visuals are served. Here are some revolutionary solutions that outperform the competition with timeless aesthetics and are the best money can buy which will assist DIY enthusiasts and homeowners and will be highly beneficial by all means. Let us dive into the vast ocean of information from finish to end resulting in investment for excellence. Time to get rolling!
Choosing the Right Grout
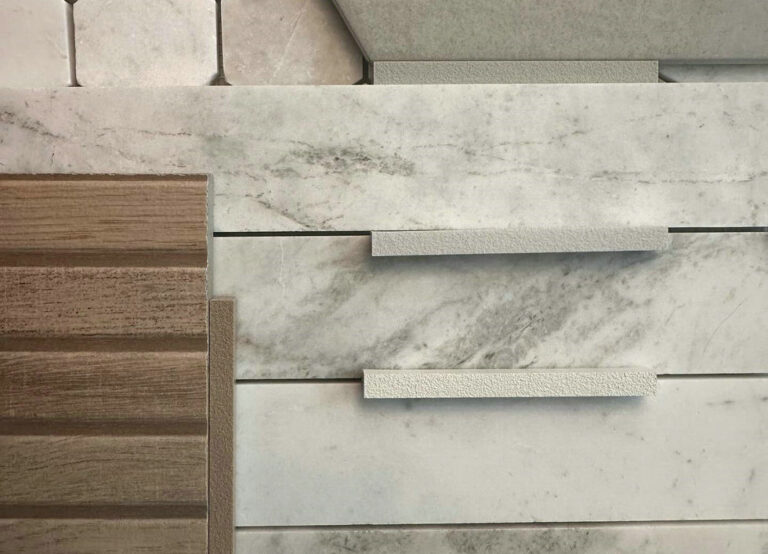
The initial step is to inspect the right grout composition that suits your tiles, the weather in that certain location, and the orientation in the room. You can choose from four basic types of grout mixtures: sanded, unsanded, epoxy, and quarry grout which hold their pros and cons as per their accordance. If you have a budget then opt for epoxy resin grout as it is the strongest amongst all but it needs expert workmanship whereas sanded and quarry grouts are easily available and affordable options but they require a further sealing process for moisture resistance and the rough sand texture might be harsh for delicate tiles like glass. Unsanded tiles are smooth and perfect for vertical tile patterns yet they are not durable comparatively and cracks can appear with time. The grout color and texture should also complement the entire interior design for instance in sleek designs, buttery smooth grouts are preferred and vice versa.
Must-Have Tools and Materials
Grab all the listed tools and accessories to master the art of grout application after deciding the spacing between tiles and the grout material as per your preference, be it sanded or unsanded, in precise structural ratios for a harmonious outcome of the backsplash.
Grout Float
The rubber pads are important for ensuring that they fill all the gaps evenly with the grout filling.
Sponge
Cleaning excess grout gives the backsplash wall an even appearance while avoiding any haze left on the tile.
Buckets
We definitely need a container to put in all our filling, and the bucket is something that comes in handy. Thoroughly combine all your materials and get ready to smack it on the wall!
Tile Spacers
While finishing it all up, we need the spaces between grouts to be even, so tile spacers are something we should always use.
Rubber Gloves
It is required to save our hands from harsh chemicals inside the grout-filling composition that might damage our skin.
Safety Glasses
In any step of the above mentioned, we do not want our eyes to get contaminated with debris, dust, or grout splashes, therefore safety glasses are a must-have.

Prepping the Area
A piece of tailored advice is to prepare the surface of grout placement and tiles surface thoroughly for professional finishing and appealing appearance. Wash and dust off the area and the tile’s surface and corners. Fill the holes and pits in the tile for a smooth surface and better adherence to materials. If the tiles are delicate, seal them before applying the grout for stain resistance and improved waterproofing. Cover other fixtures with plastic sheets near the tiling area for splash protection. Tape the edges of the tiling connected with the adjoining wall for neat finishing, prepare tools, and get started.
Mixing the Grout
After assembling and preparing the tools and materials, wear safety gloves and glasses as per the manufacturing instructions. Gradually add water and adhesives according to the ideal ratio into the grout powder to avoid any lumps and bumps. Use the paddle to blend all the material for a smooth finish. The consistency shouldn’t be too thick or too thin, but rather in between for flawless application. Quench the combination and let it rest for 10 minutes then shake and mix it yet again and allow trapped air or formed bubbles to escape. Recheck the consistency after the activation of chemicals from the resting period. Always formulate the grout material in small batches and with accurate measurements for fewer chances of mistakes and, in turn, the finest outcome.
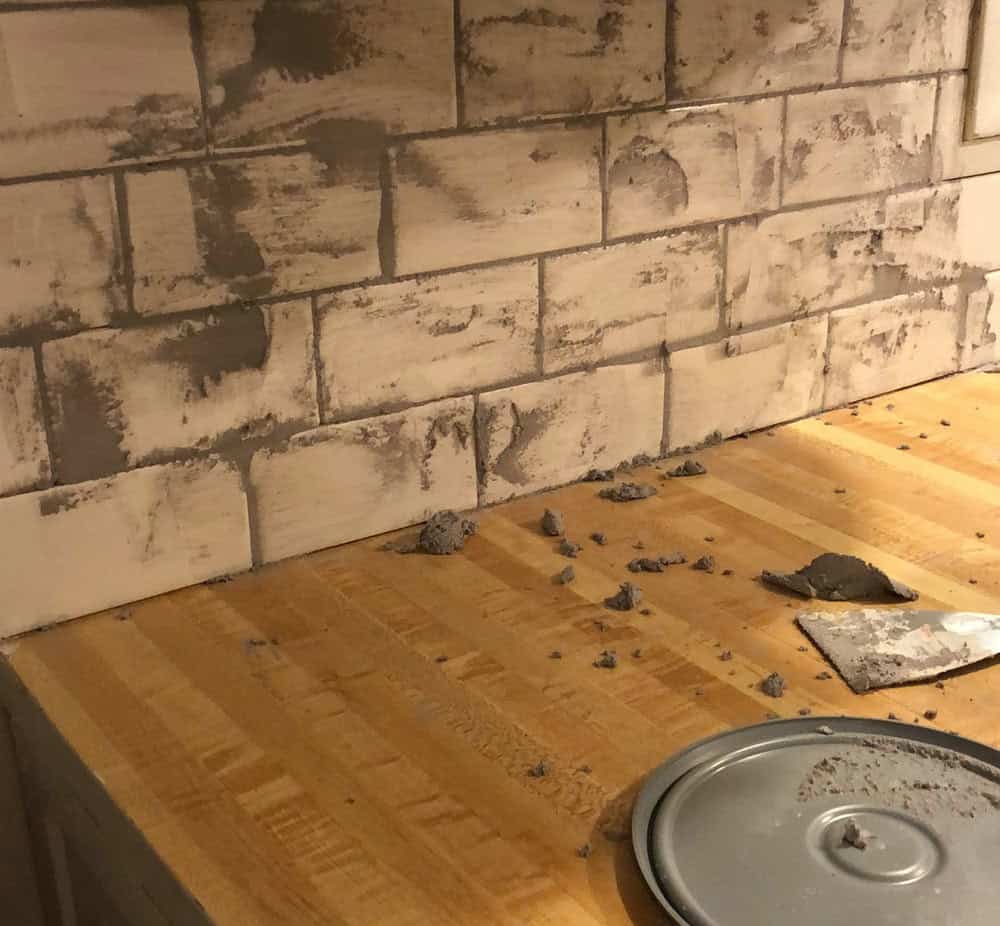
Applying the Grout
After preparing the surface and grout mixture, scoop out a generous amount of it and load on the grout float. An ideal angle for the application of grout is 45 degrees. Gently apply the mixture between the tile spaces and press it slightly so it fills the gaps seamlessly. Ensure the even coating of grout fills the gaps if any. Work in small portions to prevent drying of grout. After cleaning the access material from the tiles using a wet sponge, make sure there are no stain marks or splashes left on the tiles’ surface. Now let it dry or you can seal the grout for additional waterproofing.
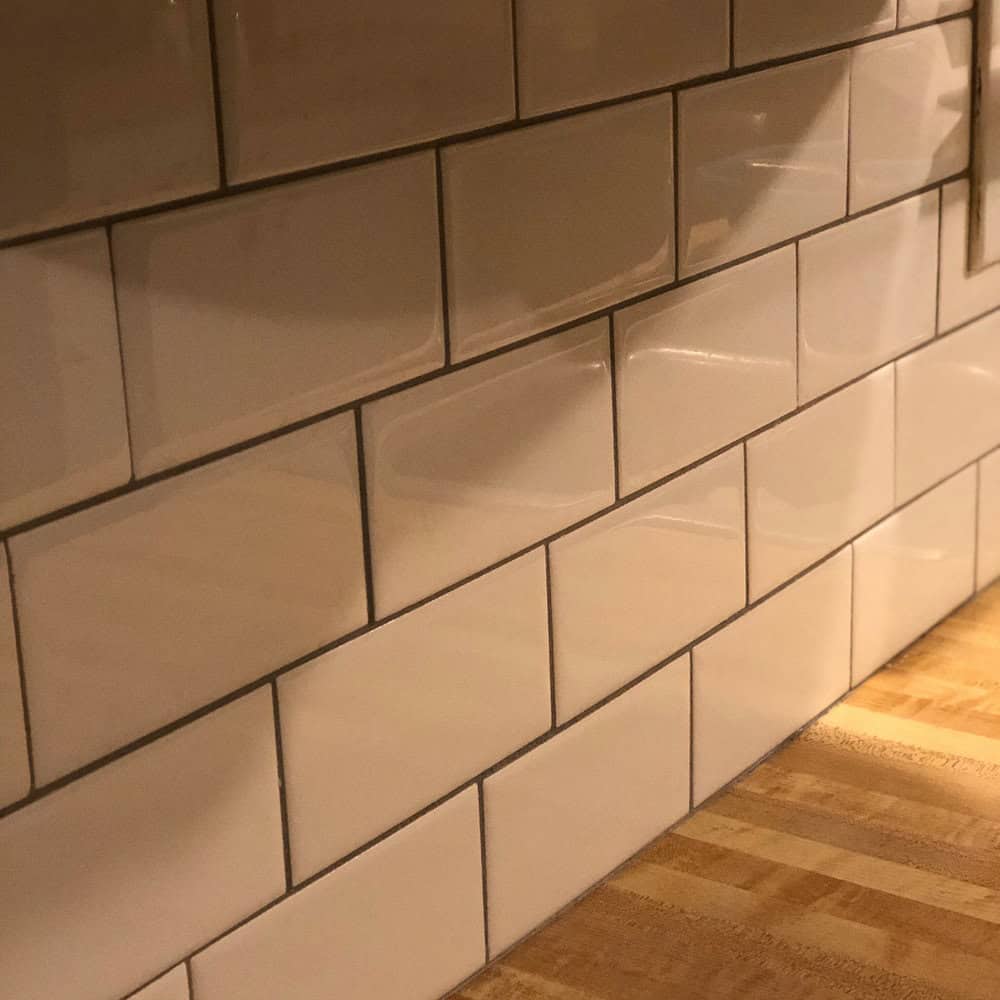
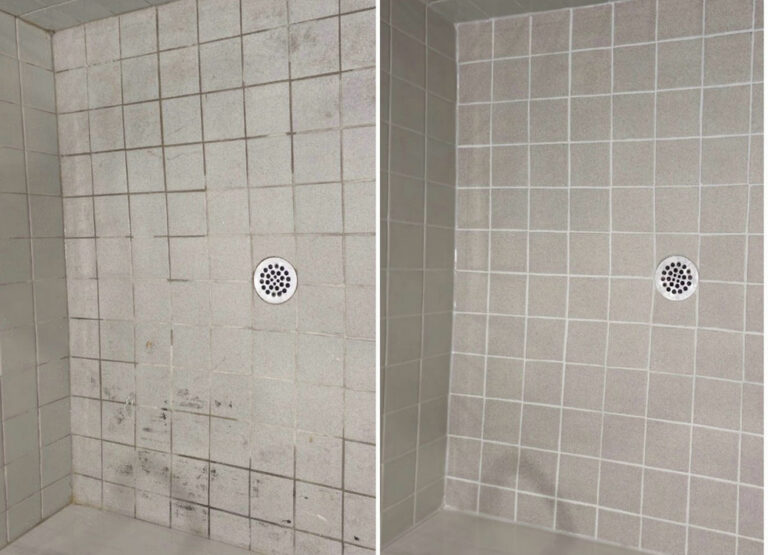
Cleaning and Perfecting Your Work
To portray a professional finish, double-clean the tile surface after the grout curing process. Clean any left residue or haze of grout typically formed on tiles or any extra grout mixture peaking through the line, and scrap it off using a brush or wet towel. Expert workmanship is needed to prevent any damage to tiles and time-saving techniques, for instance over-usage of water before a complete cure can lead to damage. Buff the tiles and the grout when completely dried for undetectable bl3cn of both and required finishing.
Sealing the Grout
A grout sealer is a revolutionary technique used commonly nowadays for additional durability and longevity of the grout between tiles. It enhances beauty and reduces over-maintenance keeping the grout stain and moisture-proof. There are two types of grout sealers that have diverse functions for example penetrating sealers, as the name suggests, penetrate through the grout mixture increasing its strength and becoming a resistive barrier whereas surface sealers act as a fence between moisture and grout surface giving a shiny reflection to the grout surface. Apply a thin layer of any grout sealer on top of the grout lines with a clean brush after drying the grout surface. Protect areas exposed to this process with a plastic sheet or tape on the connected walls for a cleaner look.
Following the above steps, you can apply multiple coats as per recommendation and requirement. Finally, buff the sealed surface to merge it smoothly.
Maintenance
Ritually cleaning at least every week with water and soap. Use a brush with soft bristles so it will not be harsh on the grout layer otherwise, it can damage the surface. Don’t use strong chemicals that may dissolve and destroy the grout and tiles. Use the steam cleaning method to kill any germs formed over time, this increases the longevity of the grout. Inspect your grout material occasionally and if you notice malfunctioning and damage, remove old grout. Reapply a new layer of grout and seal it with grout sealer or seek professional assistance. Wipe off any excess water and droplets sitting on top of tiles after the work is completed with an absorbing tool like a towel or sponge.
Troubleshooting Common Issues
Sticky or Hazy Grout
A common problem is the appearance of a haze of grout on top of tiles that looks untidy and takes away the beauty of tiles. To resolve such an issue, try to clean it with water and a towel or sponge before it dries. In case the grout haze is dried, buff it gently for removal.
Uneven Grout Lines
Another major issue is the uneven distribution of grout into the lines. Here is when tile spacers come in handy to avoid any lumps and bumps plus an even filling of grout into the lines.
Cracked or Crumbling Grout
With the passage of time if you notice cracking and crumbling of the grout line that may appear likely in high-traffic areas like the kitchen and bathroom, then remove the old grout filling and replace it with a fresh batch and then seal it with a grout sealer for more resistance against cracking or any damage.
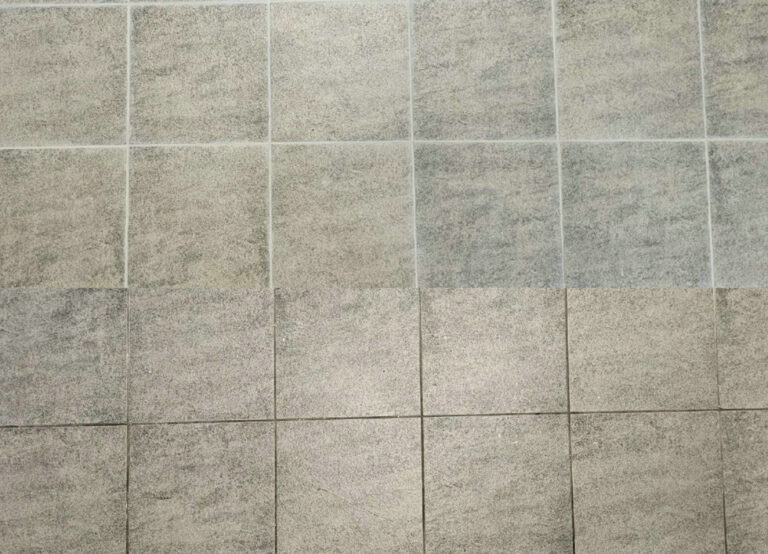
Discolored Grout
To prevent the grout from shifting color and make it stain-proof, day-to-day inspection and cleaning of it is essential. Clean the lines with a gentle brush and cleanser avoiding harsh chemicals that may dissolve or leave stains in the grout lines.
Grout Not Adhering to Tiles
If your grout falls and doesn’t adhere to the wall, make sure that the surface is squeaky clean as a whistle. Remove any dust particles from the debris and curves for better adhesion. Sometimes the grout mixture shrinks when dried, this mistake is commonly witnessed in many cases as they do not measure the ingredients accurately or the consistency of the grout is not accordingly. If this has occurred apply multiple coats till the required outcome. Grout efflorescence is a white powdery appearance on the outer surface that can be removed by vinegar wash or any specific efflorescence remover.
Some Essential Insights and Pro Tips for Home Designers
Always Look for Grout Color Harmony
You don’t need to match your grout color with tiles, instead opt for light or dark grout shades that create a vibrant contrast making the backsplash pop dynamically and bubbling with energy.
Role of Backsplash Texture
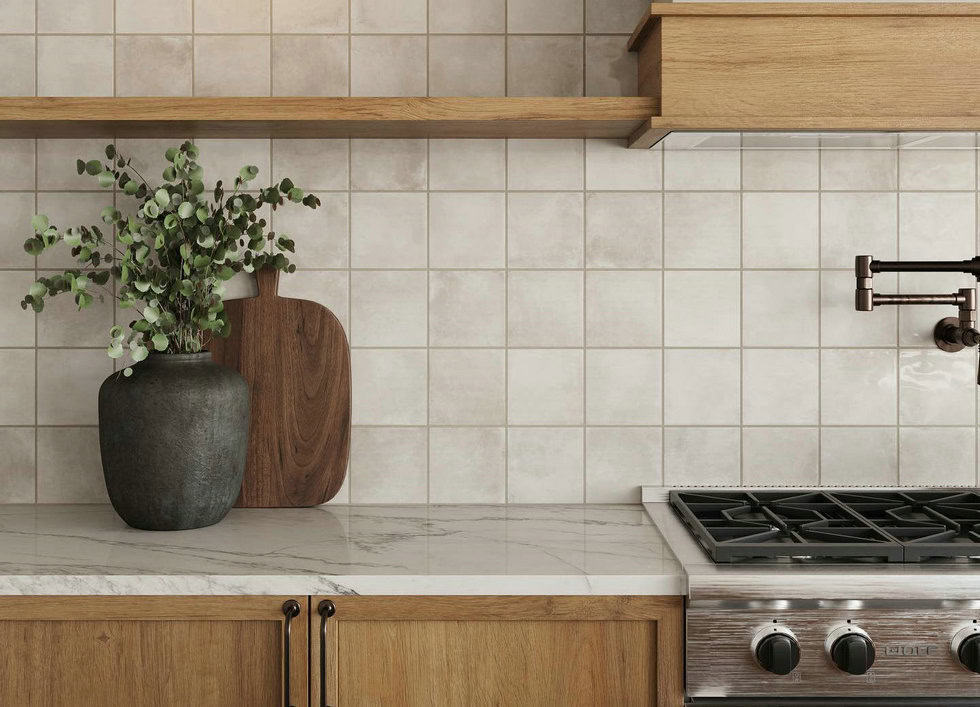
The significance of the texture of backsplash grout is often neglected yet it is a game changer. Sanded grout is often used in wide-spacing tile patterns to complement the overall aesthetic while unsanded grout is ideal for narrow or vertical tile patterns which offer smoothness without overdoing the backsplash that may disturb the eye.
On Point Application
Applying an even coat is the key to a beautiful grouting of backsplash. It is possible when you gently press a generous amount of the filling at a 45-degree angle into the lines and debris. The diagonal angle prevents any air trapping in between the layering process.
Sealers
Use of a good quality sealer according to your preference is required every 6 to 12 months. Sealers lock the grout into place becoming a shield for them. This is how it makes the tiles last longer, increasing their life and saving you money for extensive repair in the long run.
Grout Mistakes Removing
If you have mistakenly misplaced or splashed the grout mixture then instantly clean it with a wet sponge or towel. In case it is dried then buff it out or scrape it from the surface.
FAQS
How Long Do You Leave Grout Before Wiping It Off?
Grout filling in the tiles takes approximately 15 to 30 minutes to settle before it starts to dry, so you have to clean the excess before it. Initial cleaning includes wiping it off with a damp sponge or a damp cloth. When the grout is dried and you can still see some unevenness, you can scrape it off or buff it. The same goes for the grout haze that forms on the tile’s surface when the grout is cured. Plastic sheeting can come in handy during the drying process.
Should the Backsplash Be Sanded or Unsanded Grout?
Grout texture depends on your preference, the pattern, and the environment in which it has been installed. If you prefer a sleek and stylish illustration of the backsplash then choose an unsanded grout mixture as its smooth buttery finish offers a seamless blend. Moreover, it is a popular choice for a narrow tile pattern. Whereas sanded grout filling has its grainy texture and is often used in traditionally spaced and wider tile patterns for more strength and vintage visuals.
What Is the Best Grout to Use for the Kitchen Tile Backsplash?
As we all know, the kitchen is a high-traffic area and the performance of the grout backsplash should be efficient accordingly. Epoxy grout is the best grout mix for kitchen backsplash as it is highly resistant to moisture and stain proof along with a strong grip. Caulk grout is another good option to go with.
Should There Be a Grout Line between the Countertop and the Backsplash Tile?
Yes, a grout line is a must! Between the countertop and the backsplash, it offers multiple tasks that are aesthetically pleasing such as creating a neat ending for the backsplash tile job and resisting water and moisture attacks. The key factor is that when applying grout, use painter’s tape as it can help create clean, even grout lines since it acts as a protective barrier.
Facebook
Twitter
LinkedIn
Pinterest
Author
Diane Hammer
Diane Hammer is the Digital Marketing Manager at tileday.com, a premier platform for tiles, renovation, and home decor solutions. Digital marketing is Diane’s passion. With her finger on the pulse of industry trends, she will propel tileday to new heights.

Related Posts
Is it always obligatory to take off the previous grout before smearing a fresh batch? If handled with extra care and follow the step precisely you can regrout on an
A stitch in time saves nine, this saying syncs perfectly with the significance of grout sealing. Many homeowners have similar questions: do you need to seal grout? Grout tile sealer

Table of Contents The cost to remove tile flooring depends on several key factors but it usually costs between $3.25 and $6.5. This article will explain all the aspects that
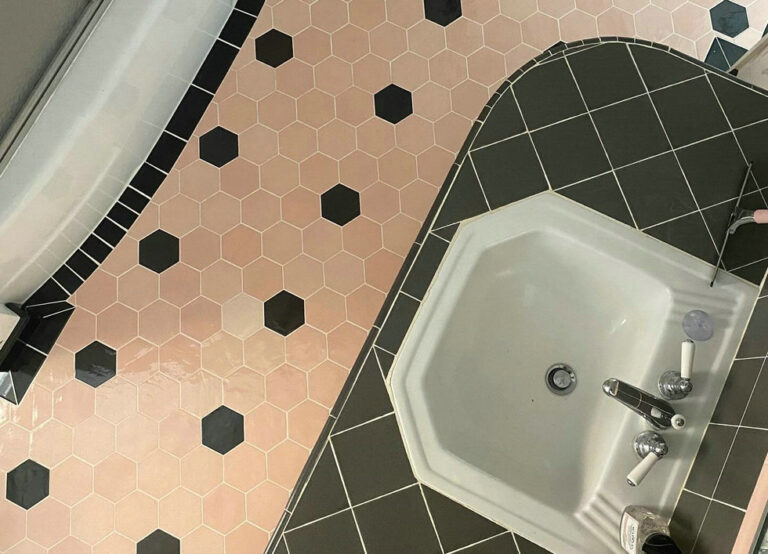
Table of Contents Fret not with any concerns of time wait! We have covered you with exhaustive information on how long before you can walk on tile. The universal decree
Your favorite floor tiles may fade away over time. The instant and economical solution to this problem is the installation of LVP over floor tiles. Do not overthink the challenge.
Have you ever thought of effectively tiling over wall tiles in a bathroom? You can do it with the utmost perfection by following simple guidelines. Key Takeaways You can lay
Home renovation is an interesting task. It sounds good to renovate your home according to the latest trend. Herringbone tiles are overwhelming the renovation trend for homes. The charismatic view
Recent Posts
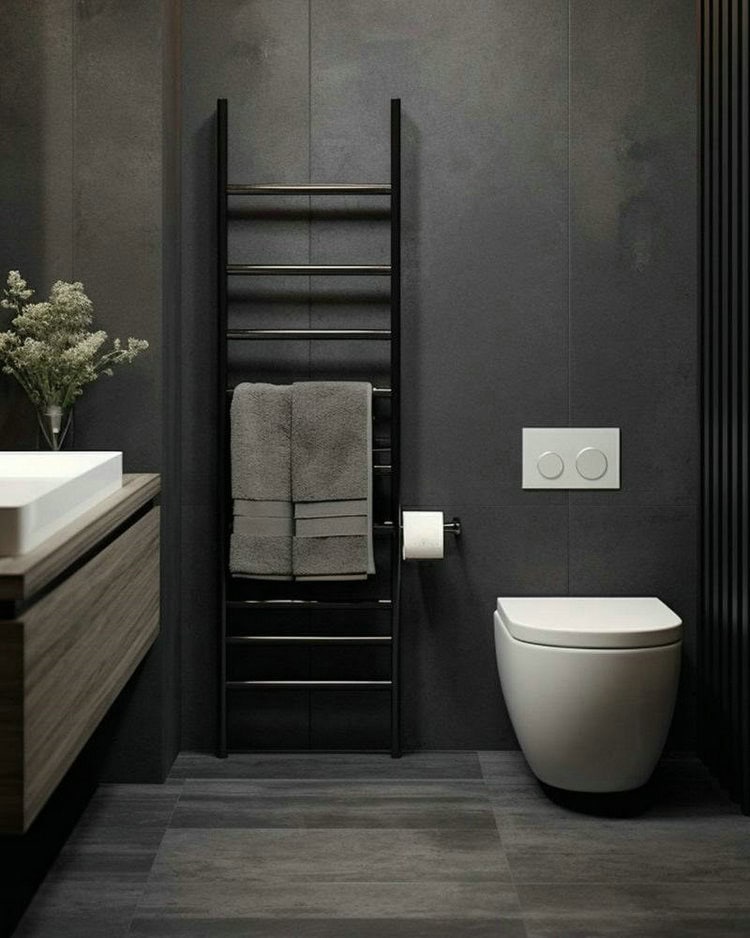
Photo credit: prestigewashrooms Welcome dark theme lovers and be inspired by dark bathroom floor tile ideas. The shiny blackish-gray wall gives the space a bold and refined appearance. It perfectly
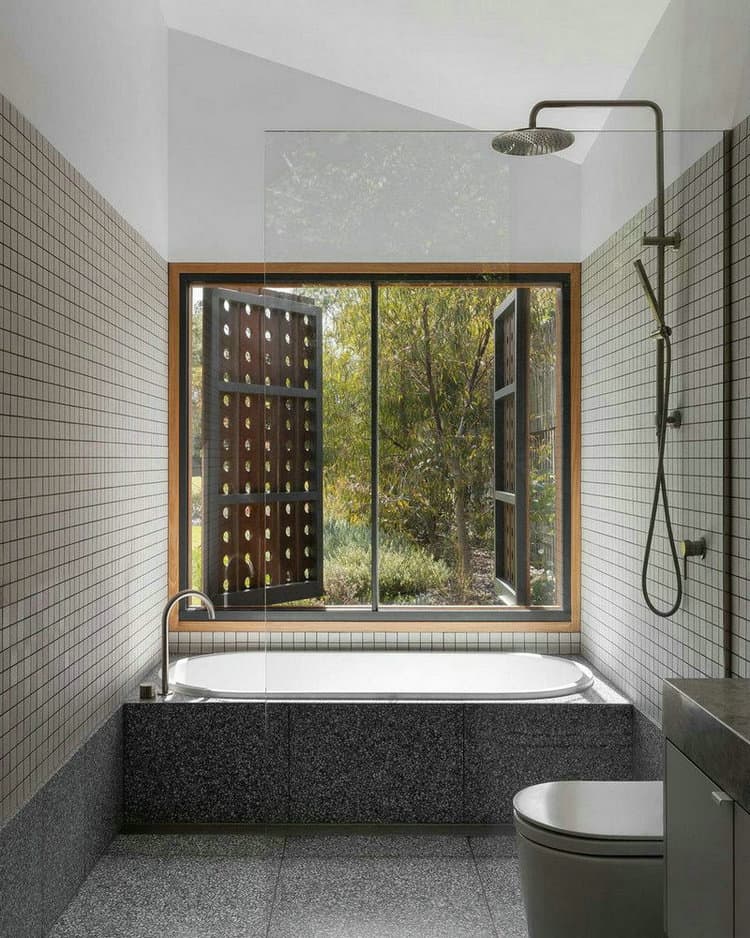
Photo credit: co_architecture_au Look at this stunning picture of a bathroom with a walk-in tub and imagine the spa-like retreat you will get in this space. Also, the huge window
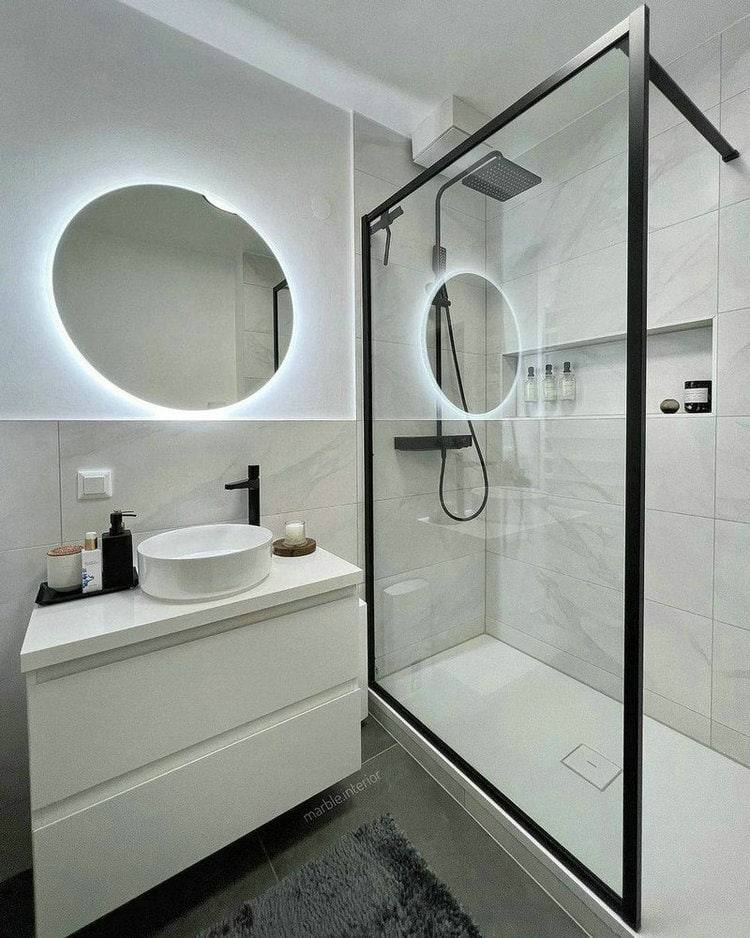
Photo credit: marble.interior Be ready to enhance your small bathroom’s appeal with black-and-white decor ideas. This small bathroom walk-in shower looks stunning with the black framed door. Add a built-in
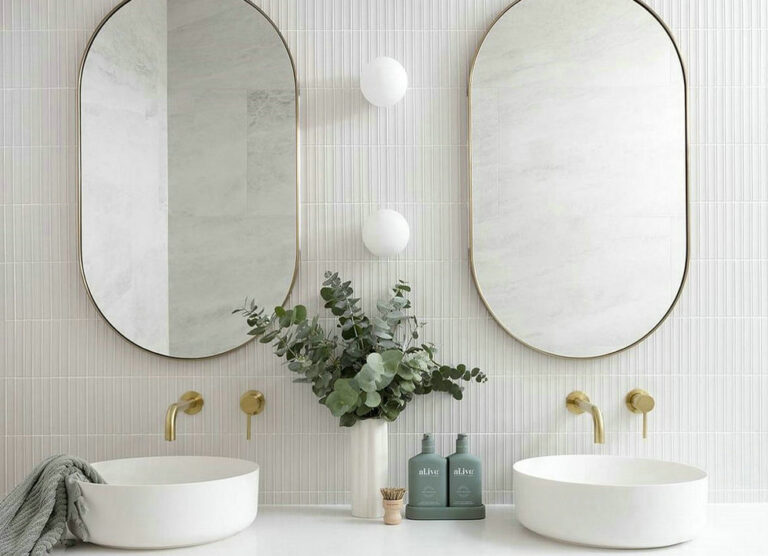
Photo credit: bintabuheh In this bathroom, the light shade color of the wall looks appealing and gives the space a calming ambiance. The vertical stack tiles perfectly complement the white

The stacked tile pattern has been a favorite with the designers and homeowners for so long. A stacked tile pattern offers a wonderful aesthetic that transforms a dull space into
Photo credit: buildwithferguson Don’t know how to add a shower to a small half-bath? Here’s a step-by-step guide. First, do careful planning before adding a shower. Go for a compact
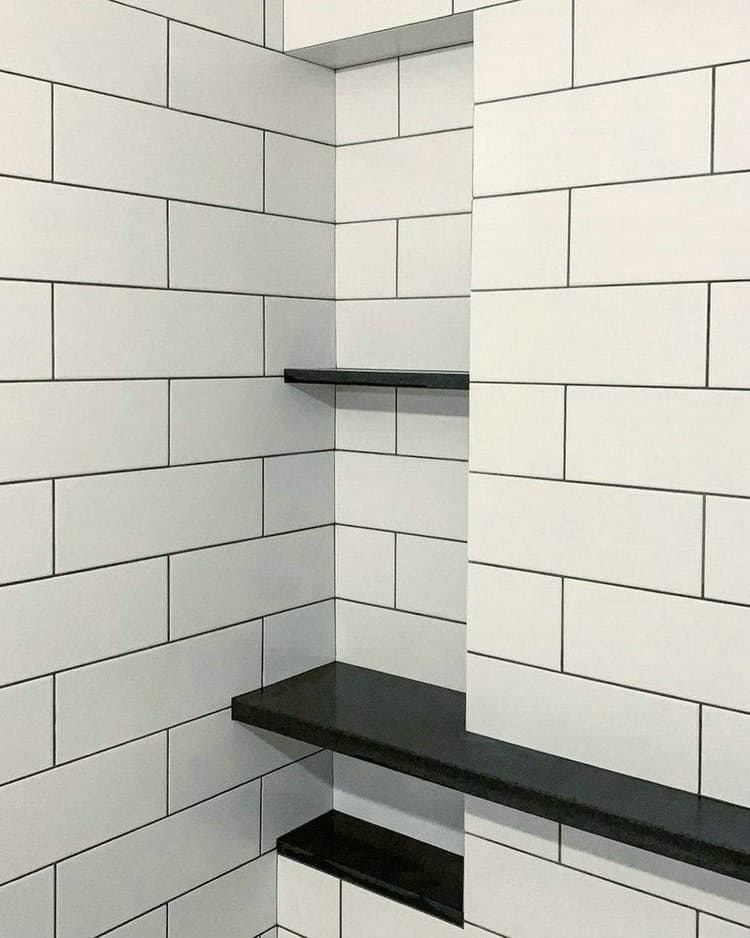
Photo credit: warmyourfloor Welcome the sense of simplicity with black and white tiles. Clean, glossy white tiles with dark grout simply create a beautiful impact. The built-in shower shelf idea
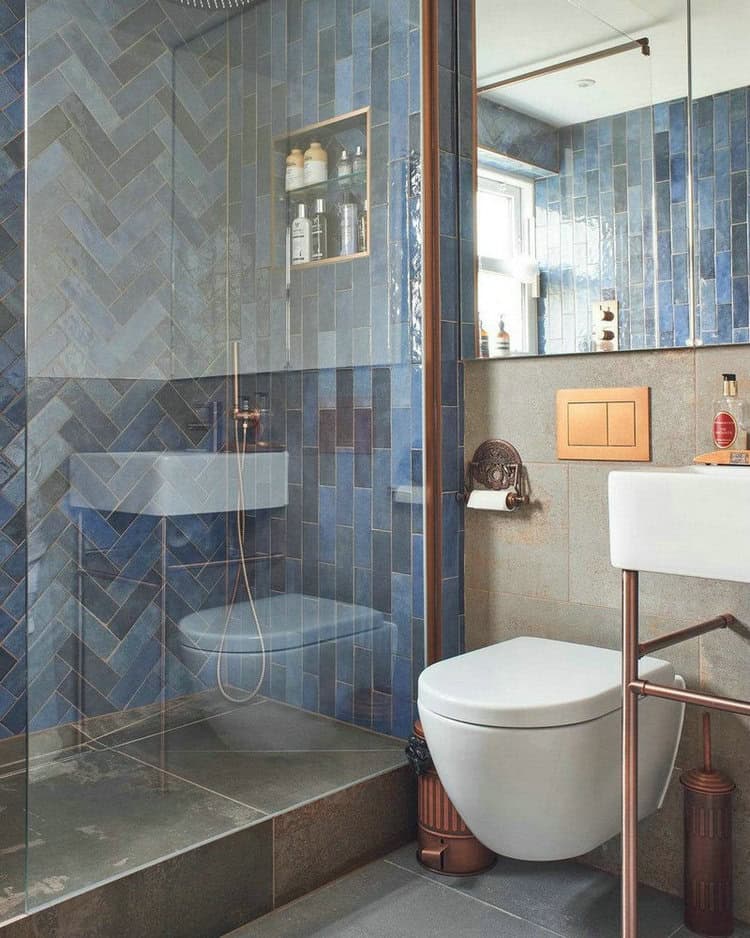
Photo credit: big_bathroom_shop For your boring shower areas, use soothing blue tones for walls. This wall idea gives a relaxing and calming ambiance as well as a touch of elegance