How Long Before You Can Walk on Tile? Get the Facts Here!

- Diane Hammer
- Updated on: July 30, 2025
Facebook
Twitter
LinkedIn
Pinterest
Table of Contents
Fret not with any concerns of time wait! We have covered you with exhaustive information on how long before you can walk on tile. The universal decree for the initial time setting period is approximately 24 hours which permits the materials to expand or contract and fillings to activate properly after application. This time wait cures the recently mounted tiles without movement that may cause any unevenness or dislodgement in the tile pattern. The post-grouting time setting is extended to 72 hours which highly depends on the atmospheric factors and material type of the installed tiles. For an expert tile setup, one should religiously follow the manufacturing instructions precisely.
Key Takeaways
Here are some tried and true revolutionary techniques and data that present your tilework with timeless beauty.
Firstly, know the significance of the tile curing process to work on it accordingly, which is vital for alignment and stability in tile installation. Be patient with the optimal waiting time per the manufacturer’s instructions. Usually, it is 24 hours before walking on tile and 48-72 hours after grouting.
Take note of the environmental factors like moisture level or humidity, ventilation, daylight factor, and temperature of the area which affect the workability of different materials of tiles and mortar.
For best results seek the assistance of a professional in terms of expert advice in the final success of a tile job otherwise, DIY projects are up to your liking.
Understanding the Curing Process
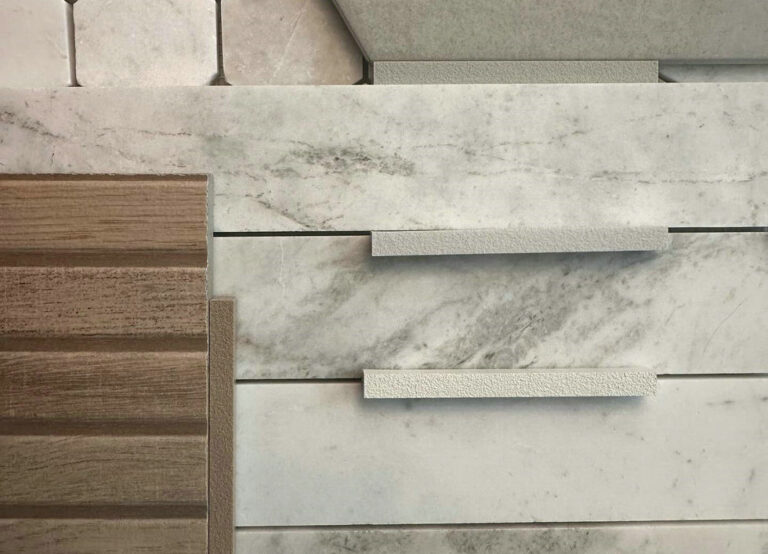
To halt any damage, identify the material of the tiles. Ceramic or porcelain tiles are usually handled with standard measures whereas, natural stone entails more consideration and it takes additional steps and time for the curing process. A Variety of mortals is also available in the market, let’s say a rapid one and a standard one, which offers different time to wait for it to settle. Any disturbance in the standard time wait can cause cracks and misalignment in the tiles, which we need to learn and tackle on a professional level. Let’s explore ideal ways to ensure time-saving marvel tile work.
Ceramic Tiles
We are all aware of the popularity of ceramic tile amongst homeowners as they offer comparatively high durability and are pleasing to glare at. Along with the beauty element these tiles have some specific tackling tips essential to keep them fresh and damage-free. Thick ceramic tiles are more waterproof and require more time to dry and cure. Post-installation handling factor dominates the upcoming visual of the tilework.
Mortar Types
Depending on various factors you can select between a rapid drying mortar or a standard mortar which plays an essential role in tile setting. Mortar should be thin and smooth for an even layer of application and require a proper slaking process in order to activate. A question arises here: how to know if the mortar has dried even after the standard time wait?
Here is when the knock test comes in handy. Knocking the tiles through knuckles ensures the wetness or dryness of the mortar through sound analysis. Dull sounds indicate wet consistency whereas solid sounds suggest fully dried mortar which assists in proceeding with further tilework process. Moreover, a successful tile installation process needs expertise and precise following of the manufacturer’s instructions with accurate facts and guidelines.
Optimal Wait Times for Walking on New Tile Floors
The initial and standard time to wait for walking on new tiles is 24 hours after placement of mortar. To ensure a proper cure post-grouting wait time comes to play its role, which is generally 48 to 72 hours depending on the atmosphere that surrounds that specific area. If you think that the dry visual appearance due to a thin layer of mortar means that it’s dry, you are certainly wrong. The actual cure wait time for a thin mortar layer is increased due to reduced air penetration underneath it. If you stepped onto precured tiles you may cause disturbed alignments which is not what we are looking for!
Factors Affecting Drying Process
The following are the factors playing a key role in delayed or unusual drying processes in tile installation.
Material of Tile
The type of tiles is one of the most effective factors. Heavy and dense materials like natural stone require more time for drying and adhering to mortar or grout whereas less time is needed with ceramic or porcelain tiles.
Type of Mortar
The drying process depends on the use of a rapidly drying mortar or standard mortar which specifies the total time needed for drying.
Environmental Factors
Factors like air pressure, humidity, sunlight, and temperature can cause changes in standard curing procedures. Good ventilation, and higher temperature speed up the process while higher moisture levels in the air slow it down.
To avoid the contact of tiles with moist air, dehumidifiers do the job in flash by accelerating the entire progression. Another cutting-edge improvement tip is to provide extra airflow through fans which rushes the drying.
Installation Tips for a Successful Tile Job

Drying fitting the tiles
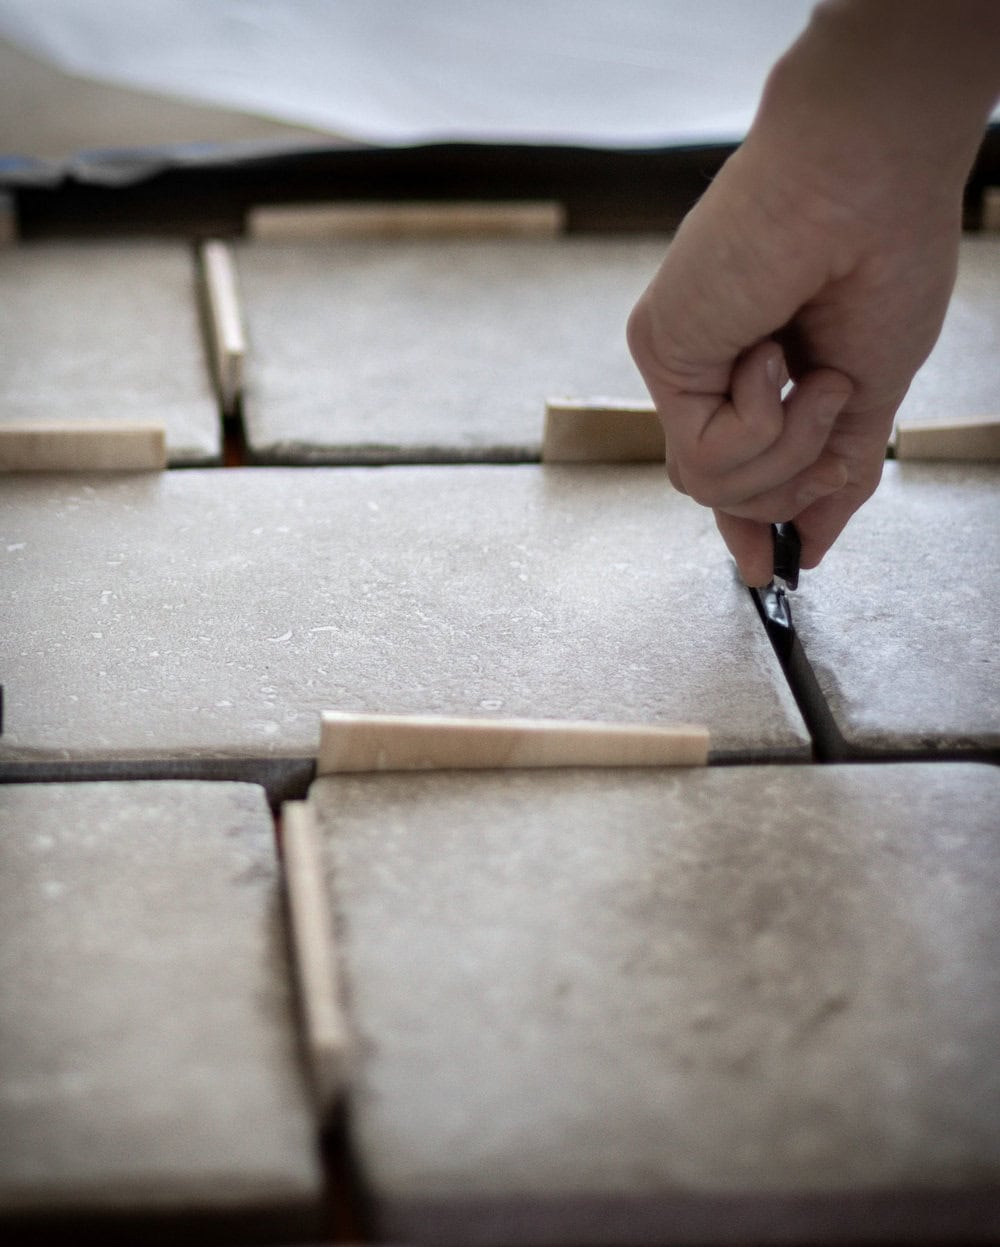
Keep in mind the specific tile drying time and calculate the further procedure accordingly. To ensure an even pattern through the tiles, pre-plan the tile layout and on a dry surface place them accordingly and mark the points in advance for a hassle-free experience and accurate fit and appearance of the tile job.
Preparing the surface
Clean the surface where the tiles are to be placed afterward. Thorough cleaning of any debris and curves ensures fine adhering of materials on tops. Buff the uneven surface for a smoother application on top.
Applying mortar
A thin layer of mortar is commonly recommended and it should be a smooth layer that guarantees even coating below tiles.
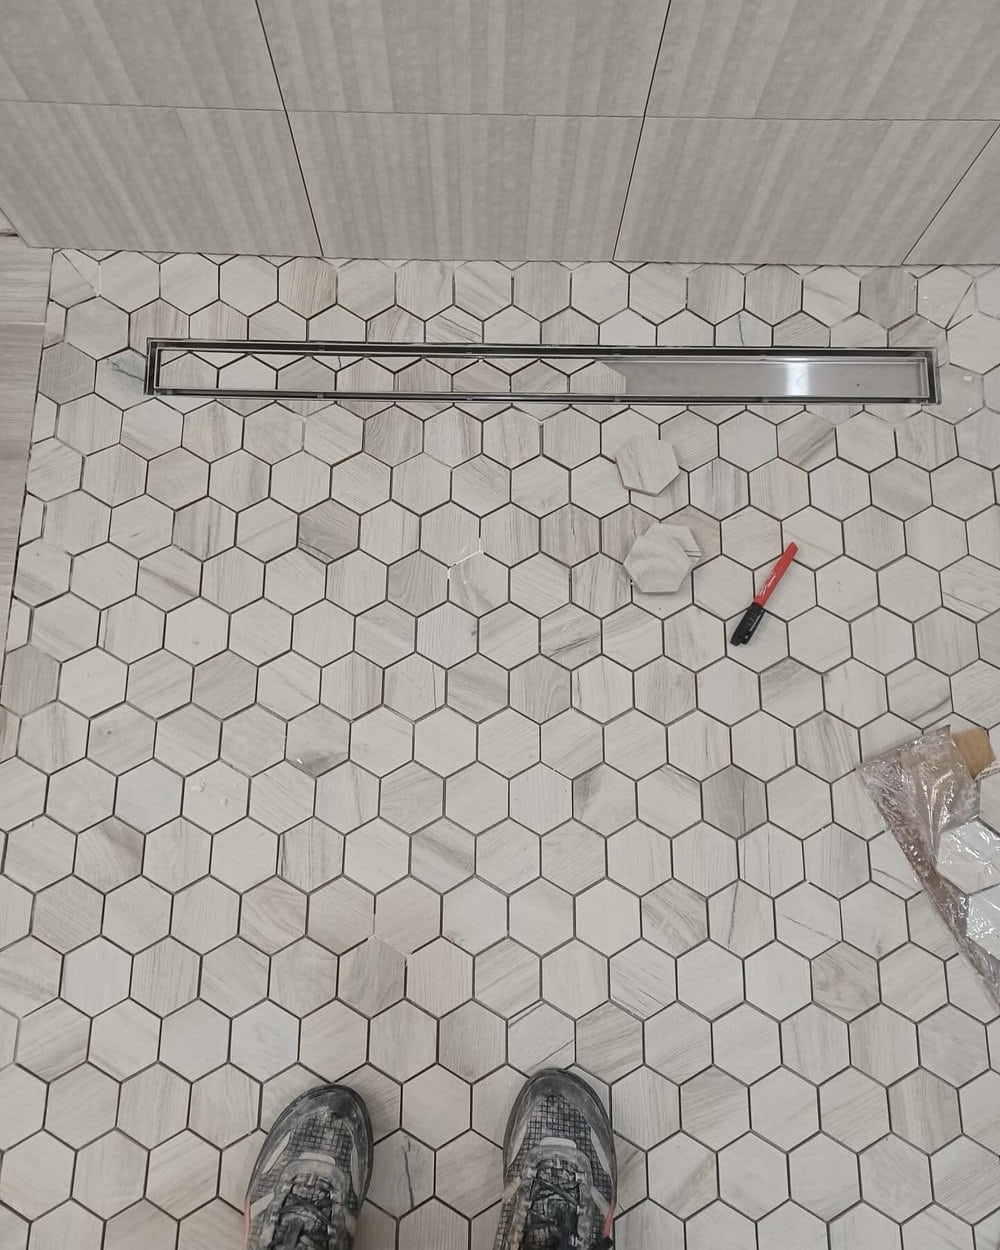
Place tiles
Place the tiles onto the decided marks and arrange them accordingly. Rubber mallet comes in handy for the even placement of tiles.
Surface Preparation and Cleaning Tips
Removing fixtures and accessories on the wall
This helps to ensure a smooth surface for a successful tile installation job.
Dealing with cracks
Fill in the existing cracks to prepare a smooth flat surface for tile work.
Fixing bumps
If the wall is lumpy or bumped, scrape off the excess unevenness.
Sanding
Sand the surface for better adhesion of upcoming materials on top.
Oil removal
If the surface is wet or greasy, the mortar and tiles won’t stick up nicely. For that clean the surface with washers and remove any oil or wet presence.
Different surfaces
Painted wall
If the wall or floor is already painted make sure the adhesion of paint to the wall is not loose in any area. If this case appears. Remove the area where there is uneven paint.
Textured surface
If the tiling has to be done on a textured surface, for instance a wooden one, sand the surface and clean it thoroughly for precise application.
Existing tiles
If the surface has already been tiled before make sure to remove any residue from the previous applications and cure the surface for revamped tiling.
Proper Grout Techniques
Grouting the tiles is an essential step and is like the cream of the crop. It strengthens the tiles, fills space between tiles, secures them in place, and smoothens the overall touch giving it elegance. However, before you start grout, here are the key steps to follow.
Allow the mortar to dry
Give ample time for the thin-set mortar to dry completely. The time can vary from 24 to 48 hours.
Preparation
After the drying of the mortar, remove any excess layer for better adhesion of the grout on top. Tape the walls and edges of the adjoining walls in advance, making it splashproof. Apply the grout with a grout float for an even spread at a diagonal angle of 15 degrees which prevents air trapping beneath it. Press the product gently to fill the crevices and debris and remove the excess grout popping out of the grout line.
Removal of excess grout
If any grout haze shows after drying, clean it with a wet towel or buff it out.
Grout sealer
There are two types of grout sealer, one that penetrates to strengthen it and one that sits on top and acts as a shield for water resistance. Grout sealer adds another level of efficiency protecting it from water damage and making it stain-proof to some extent as well. After drying time which is 24 hours maximum, go for the final cleaning to ensure a visually appealing outcome.
Consequences of Walking on Tile Too Soon
Stepping into a new tile setup too soon may lead to many serious consequences including tile skewness and misalignment of tiles. Tiles may also sink and the grout filling will rise from the side, creating bumps and rugged surfaces. If a tile breaks it increases injury menaces as the edges become shrill. Pre-cured tile setup, if dislodged, allows water to penetrate through it triggering damage to the inner subflooring which can cause long-term impairment. If any case of displacement appears you may have to pay a pretty penny for the increased repair cost due to slight negligence, which can be avoided following manufacturer instructions as an ounce of prevention is surely worth a pound of cure.
Repairing Damaged Tiles
A penny saved is a penny earned, and we are here to assist you with precise repairing methods for the reason that a stitch in time saves nine. For minor cracks and chipped areas use epoxy of matching paint to fill the gaps and blend in seamlessly. If the crack is advanced then replace the entire tile flooring and follow each installation step accordingly.
Make sure to incorporate extra and spare tiles in the damage repairing process which is a bang for the buck as well as sustainable with perfect matching character.
Managing Foot Traffic During Installation
To prevent any damage to the newly installed tiles, managing floor traffic is implemented by establishing clear walking routes with sign boards if required. Restrict the total access if possible or otherwise cover the area under construction with boards or use a barrier to close the entrance. Controlling environmental factors like dust, lack of sunlight, or improper ventilation improves the curing process. For that maintain a pristine workshop by cleaning dust adhering and settling into the wet surface. Covering for protection should allow air to flow properly or the use of a fan comes in handy.
Installing Tile in Phases
Installing the tiles in smaller sections which allows uninterrupted traffic flow without creating too many restrictions that may affect the efficiency of any workplace. It allows every section enough time to dry and cure which is the key factor in determining the longevity and durability of the tiles, especially in heavy-traffic areas like kitchens and hallways.
Temporary Barriers
The use of temporary barriers is essential to separate the underwork area from the rest. The use of tape is convenient to track footsteps away marking safe paths keeping the under-cured tiles risk-free. Also, masonite as a barrier helps protect the curing tiles from foot damage.
Professional Installation vs. DIY
A doubt arises here whether a homeowner should do it themselves or hire a professional installer. The answer to this question highly depends on your budget, the level of artistic approach you want to put in, and the time you have in hand. It is important to note that with professional installation, one does not have to worry about durability and precision. Also, it comes with a warranty, so peace of mind for homeowners is guaranteed.
On the other hand, DIY projects are cost-effective, and are flexible allowing home designers to work at their own pace and taking out adequate time for every detail. But obviously, it has some major drawbacks such as improper installation of tiles that lead to repairs in the future and increasing costs in the long run.
Both the DIY installation and professional installation have their pros and cons which are elaborated below assisting you to elect your project’s implementation accordingly.
Professional Installation Benefits
Let’s take a look at the benefits of seeking professional assistance for tilework.
Precise expertise and vast experience
Professional installers undergo many practices and courses to achieve an expert installation and have extensive experience in which they learn actual tips and tricks.
Quality assurance
Expert workmanship ensures top-notch products depicting skilled ways to mount tiles like no other as they have served every corner of the tile shop available in accordance.
Time-saving
The process takes less time as professional workers are quite efficient, which speeds up the whole process.
Less stress
Once you know that the project is under a skilled professional you take less stress and enjoy a hassle-free experience.
DIY Tile Installation
Here are some comparative key points in favor of DIY tile installation.
First of all, we know the main leading point of DIY projects is cost-saving through labor expenses and materials of our own preference which doesn’t break the bank. It adds additional potential in the homeowners as it’s highly beneficial if they are low on budget. The advantage is the flexibility in time management which allows you to schedule the task with your free time. Another upside is the personalization you can achieve with every small detail, be it material selection, color story, or texture and pattern decisions. However, things can become complicated with mathematical precision and symmetrical finish, and here is when you might need a bit of expert advice.
By doing the project yourself, you can have a proud experience of facing challenges confidently and gripping more tile skills.
Summary
Summing it all up, whether with DIY installation or professional installation, you need utmost patience and maintenance for the best outcomes as timing plays a crucial part in the whole tile game. Avoid stepping onto premature tiles and allow the tiles to take as much time as they need to be fully cured and gain strength becoming highly durable and reliable. Managing traffic flow is essential in damage control for both tiles and individuals as it can cause injury. The considerations of DIY installation or expert installation depend on your predilection keeping the key point in mind but either way, reading and following accurate measures, steps, manufacturer’s instructions, and safety measures is significant.
FAQS
How Long Should I Wait before Walking on My New Tile Floor?
The setting time-wait to step onto newly installed tiles is a minimum of 24 hours which also depends on atmospheric factors like humidity, airflow, and sunrays reaching the desired area. After the application of mortar and grout, the time extends to 48 to 72 hours for the appropriate tile curing process.
How Does the Type of Tile and Mortar Affect the Curing Process?
Diversity in tile and materials plays a significant role in the curing process. Tiles like ceramic and porcelain tiles are less dense than natural stone tiles and therefore take less time to cure. As far as mortar is concerned, two major types are seen which include epoxy ones and thin-set ones which perform different functions likewise. The selection of material features moisture absorption levels and penetration abilities which in turn affect the curing process.
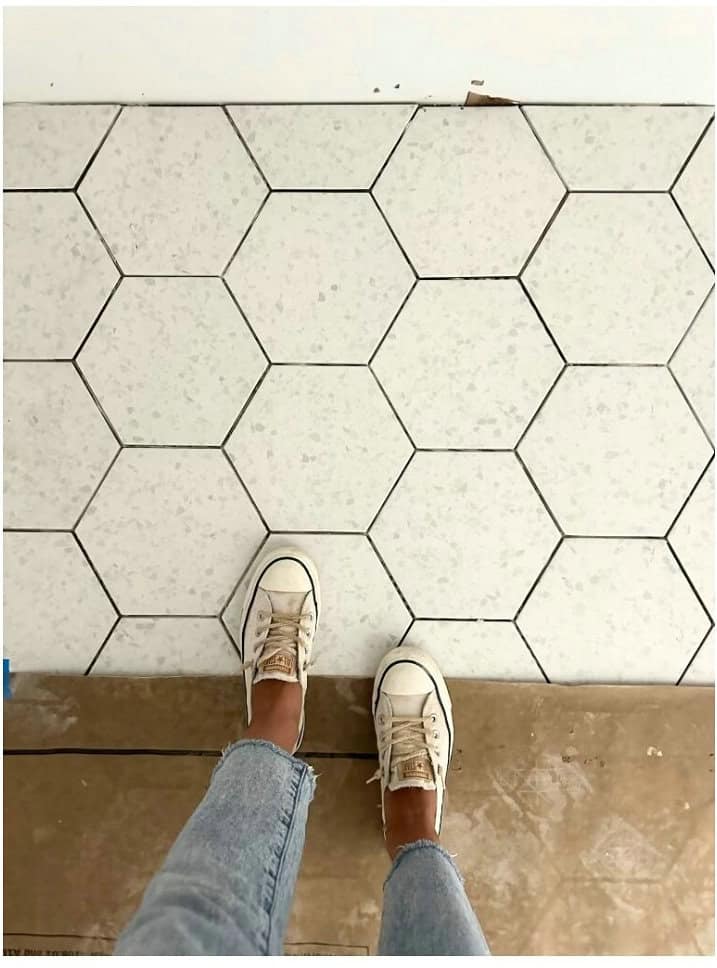
Can I Walk on the Tile before Grouting?
Yes, light traffic flow before grouting is not risky avoiding the disturbance in tile shifting and misaligned layout protecting the edges specifically. With that keep in mind that heavy furnishing on top of its movement is forbidden during the curing period.
Facebook
Twitter
LinkedIn
Pinterest
Author
Diane Hammer
Diane Hammer is the Digital Marketing Manager at tileday.com, a premier platform for tiles, renovation, and home decor solutions. Digital marketing is Diane’s passion. With her finger on the pulse of industry trends, she will propel tileday to new heights.

Related Posts
Is it always obligatory to take off the previous grout before smearing a fresh batch? If handled with extra care and follow the step precisely you can regrout on an
Table of Contents Paint a picture of a harmonious blend of kitchen tiles with other elements, that sets the world apart with its unparalleled charm. Especially, when you come across
A stitch in time saves nine, this saying syncs perfectly with the significance of grout sealing. Many homeowners have similar questions: do you need to seal grout? Grout tile sealer

Table of Contents The cost to remove tile flooring depends on several key factors but it usually costs between $3.25 and $6.5. This article will explain all the aspects that

Your favorite floor tiles may fade away over time. The instant and economical solution to this problem is the installation of LVP over floor tiles. Do not overthink the challenge.
Have you ever thought of effectively tiling over wall tiles in a bathroom? You can do it with the utmost perfection by following simple guidelines. Key Takeaways You can lay
Home renovation is an interesting task. It sounds good to renovate your home according to the latest trend. Herringbone tiles are overwhelming the renovation trend for homes. The charismatic view
Recent Posts
Photo credit: prestigewashrooms Welcome dark theme lovers and be inspired by dark bathroom floor tile ideas. The shiny blackish-gray wall gives the space a bold and refined appearance. It perfectly
Photo credit: co_architecture_au Look at this stunning picture of a bathroom with a walk-in tub and imagine the spa-like retreat you will get in this space. Also, the huge window
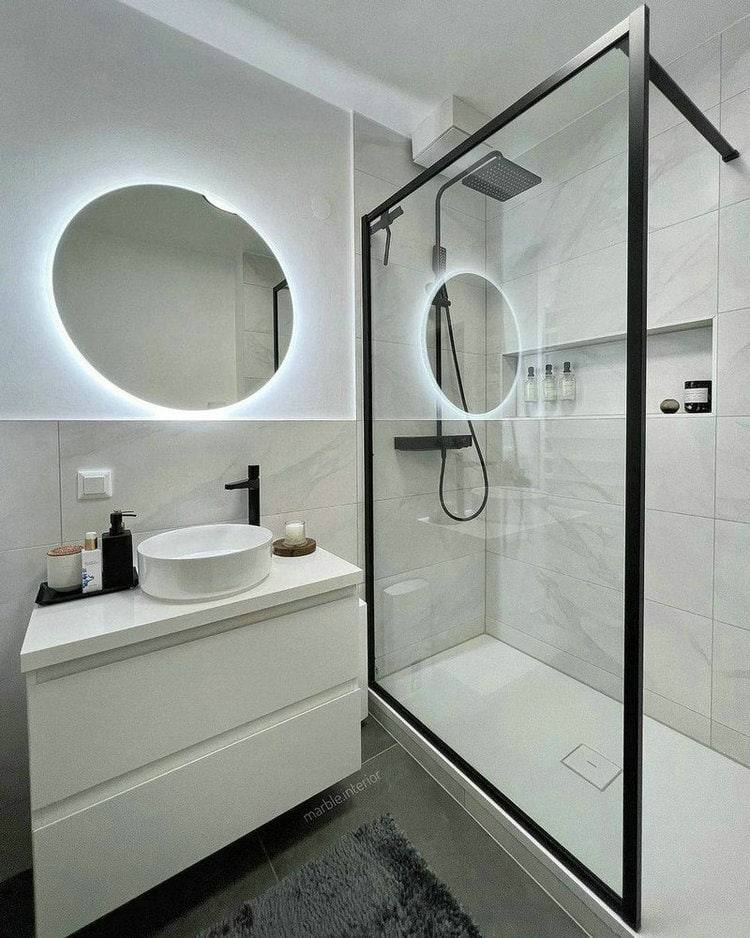
Photo credit: marble.interior Be ready to enhance your small bathroom’s appeal with black-and-white decor ideas. This small bathroom walk-in shower looks stunning with the black framed door. Add a built-in
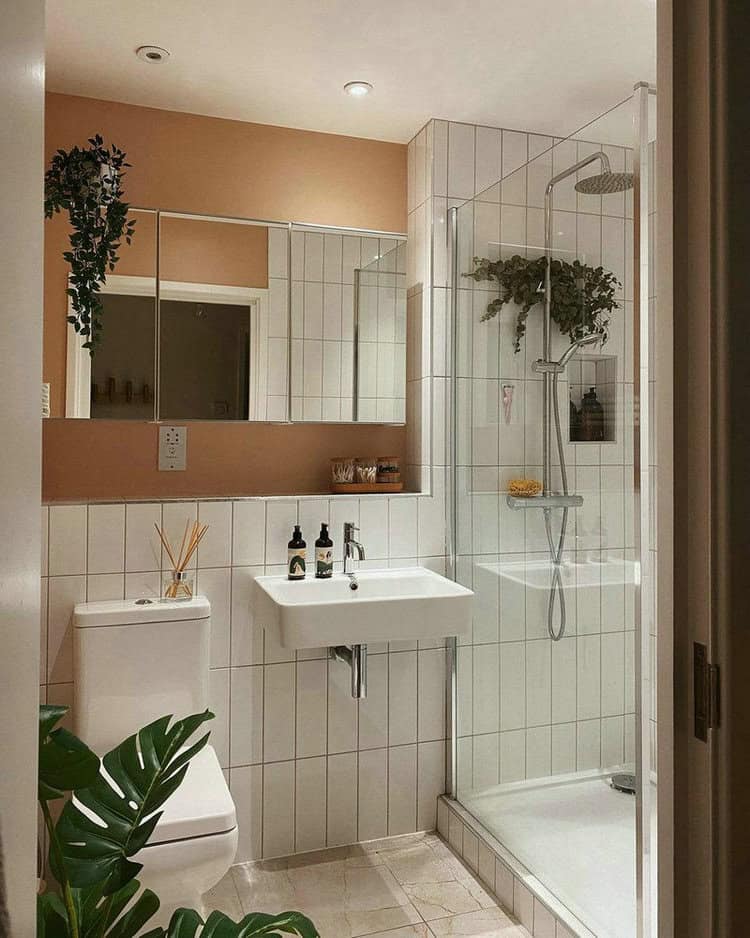
Photo credit: bintabuheh In this bathroom, the light shade color of the wall looks appealing and gives the space a calming ambiance. The vertical stack tiles perfectly complement the white

The stacked tile pattern has been a favorite with the designers and homeowners for so long. A stacked tile pattern offers a wonderful aesthetic that transforms a dull space into
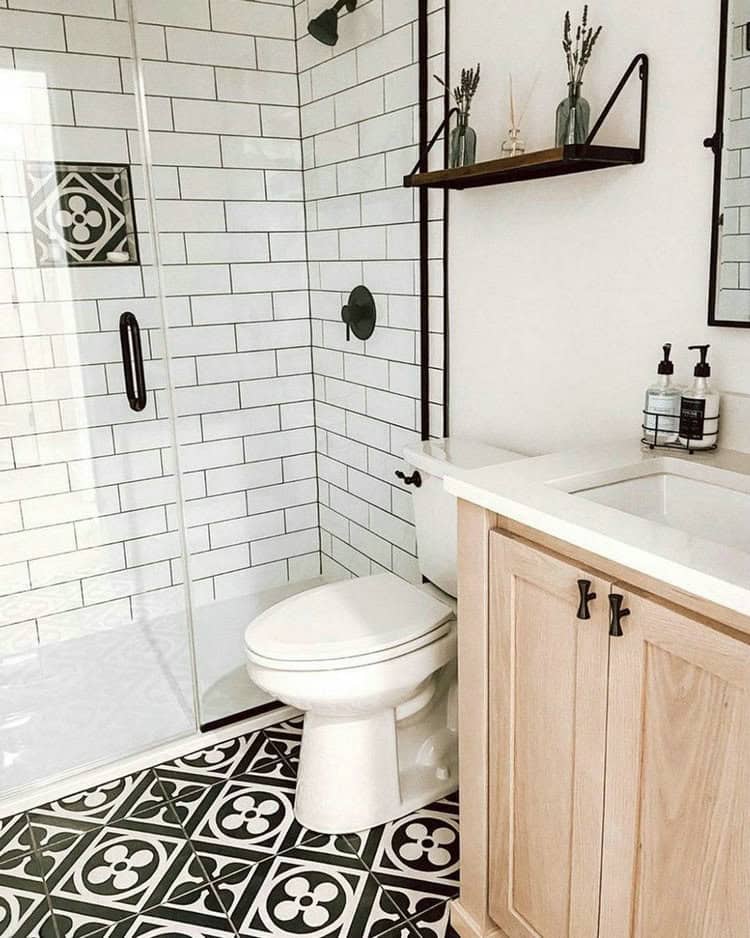
Photo credit: buildwithferguson Don’t know how to add a shower to a small half-bath? Here’s a step-by-step guide. First, do careful planning before adding a shower. Go for a compact
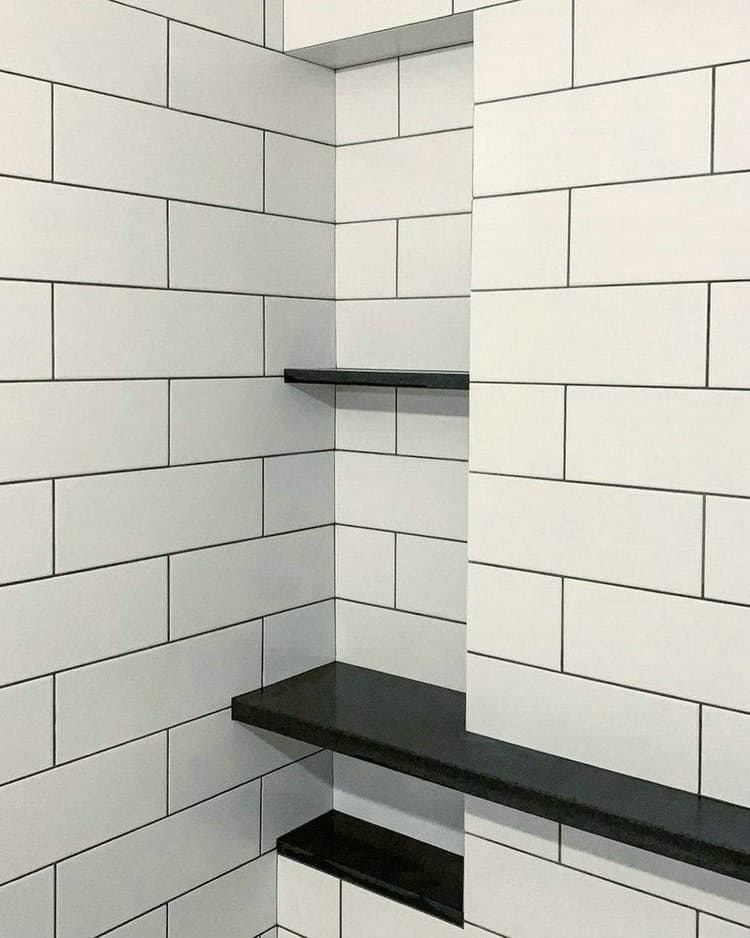
Photo credit: warmyourfloor Welcome the sense of simplicity with black and white tiles. Clean, glossy white tiles with dark grout simply create a beautiful impact. The built-in shower shelf idea
Photo credit: big_bathroom_shop For your boring shower areas, use soothing blue tones for walls. This wall idea gives a relaxing and calming ambiance as well as a touch of elegance